Ok, so first of all – why not start with the English version of this blog. In the first article, I would like to present the latest server that I had the pleasure of researching parts to buy, assembling and configuring to work.
Hardware:
- CPU: AMD Ryzen 7 5700G – 8 cores, 16 threads and integrated Radeon graphic
- Motherboard: ASUS TUF Gaming B550M-PLUS
- RAM: Patriot Viper Steel 64 GB DDR4 3600 MHz, CL18
- PSU: Corsair RM550X 550W (80 Plus Gold certificated)
- Storage:
- NVMe #1: Lexar NM790 2TB M.2
- NVMe #2: WD 512GB M.2 (I found among the spare equipment)
- SSD: Crucial MX500 1TB 2,5 SATA
- Case: Chieftec CI-01B-OP
Why such a specification? Because of the budget and the main purpose of use. I did some research on the use of the R7 5700G for virtualization purposes (especially in homelab environments) and the results were really satisfactory to me. The board has good power sections and is a good choice for potential overclocking (which I have no plans to do, but it is a good recommendation from a quality point of view).
I’m 100% sure that in the near future I’d like to upgrade from NVMe #2 to 2 TB and perhaps add another 1 TB SSD. This will allow me to use the software RAID built into the motherboard. For now, the configuration without RAID is sufficient for me, regular backups will be sent to the HP Microserver in my homelab (it has a dedicated physical RAID controller).
As I mentioned, I currently have a proxmox environment on an HP Microserver Gen8 server. Unfortunately, the limit of supported RAM of only 16 GB is crucial to my plans. I plan to use several self-hosted services such as Grafana, Zabbix, Wazuh, Pi-Hole and some additional ones like wireguard to connect to my dedicated servers or rsyslog to collect logs… Of course, this is not a closed list 😀
Assembling
At first I did not plan to create this article. That’s why I assembled the whole thing on my own and packed it into an old case that remembers the Sun Microsystems days. After finish that I decided to buy new, small case for this hardware… ;D

Definitely too much unused space and this enclosure did not particularly allow me to place it in a sensible place in my room.
So I decided to buy cheap Chieftec case which looks really fine and it’s dedicated for this kind of hardware which I would like to use.


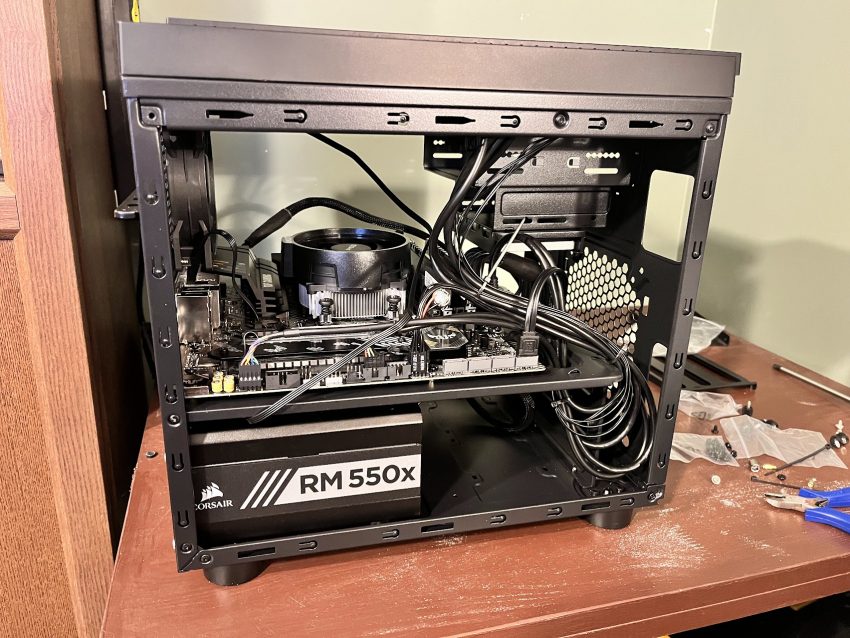
Since I didn’t have much equipment to move between cases, the whole process took me about 40 minutes with cable connection and management.


I know cable management could have a better effect, but I’m leaving it for storage upgrades in the near future. Or I’m just trying to believe in it ;D

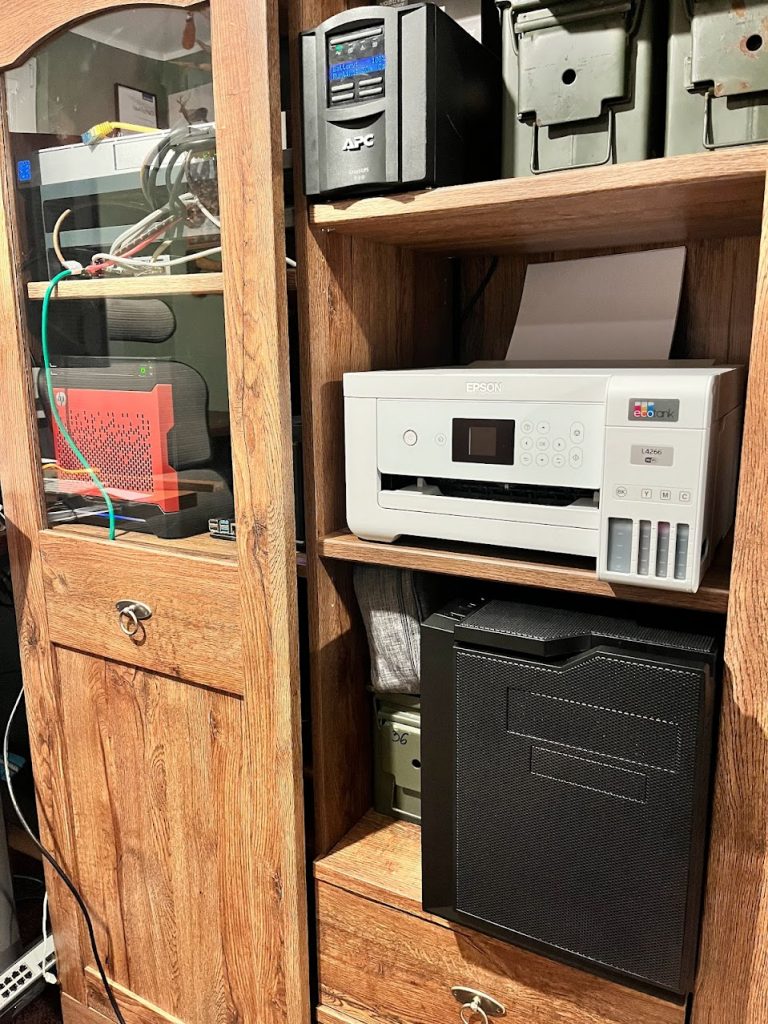
Ok, so it’s ready to be placed on the shelf in my “homelab dresser”. You can expect more details about my entire homelab in future articles, but at the moment I’m not ready to show it – definitely cable management needs improvement there 😉
Currently it works fine and there is Proxmox installed with few virtual machines. What makes me happy is that the power consuming is between 20-30 watts. It’s really cool result from my point of view for this kind of hardware 🙂
